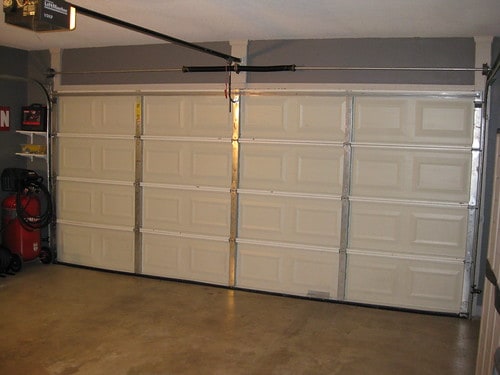
One of the main purposes of a garage door is to protect items from outdoor elements. If you notice excess water or rodent droppings inside your garage, or if you experience a draft near the bottom of the garage door, the culprit might be the seal to your Clopay garage door. These seals serve as weatherstripping and keep out leaves, critters, and inclement weather. Replacing the garage door seal is a task that you can complete on your own as long as you have the right supplies and tools.
Why Is a Garage Door Seal Important?
As North America’s largest manufacturer of residential garage doors, Clopay offers doors in a variety of styles, including the traditional raised panel, modern, and carriage house. Even though Clopay garage doors are built to last, that doesn’t mean the parts don’t wear down over time or become damaged. Almost every facet of the door can be replaced, and you can find most parts at a home improvement store or from a Clopay certified garage door dealer, such as Overhead Garage Door.
Your garage door provides possibly the largest opening to any inside part of your home. Keeping this area weatherproof is essential, which is why you need a reliable garage door seal. This flexible strip of rubber or vinyl attaches to the bottom of the garage door, compresses whenever the door closes, and seals the gap between the floor and the door.
It prevents heat loss at the bottom of the door and also keeps out pests, water, and dirt. If water enters your garage, it can cause damage or freeze during those cold Chicago winters and ruin your garage floors. Depending on where your garage is located in relation to other rooms in your home, excess water in the garage can also seep into your living spaces.
How Do You Know You Need a New Clopay Garage Door Seal?
To determine if you need a new seal, place your hand at the bottom of the garage door. If you feel a draft, notice cracks in the seal, or can see daylight below the door when it’s closed, it might be time for a replacement. As long as your garage door is operating and in decent condition, you should be able to complete this task on your own. However, if you believe the task is too difficult, your garage door is in poor operating condition, or you’re having issues locating the parts, reach out to Overhead Garage Door for assistance.
Purchase the Parts
Since Clopay manufactures its garage doors with varying types of weather seal retainer designers, you might need to contact Clopay directly to determine the exact type of replacement seal to purchase. Measure the height, width, and thickness of your garage door, and purchase enough weather seal to fit your garage door. Once you have your parts, make sure you have two C clamps or vise grips to perform the replacement.
Remove the Old Seal
Before you get started on replacing the garage door seal, check to see if the garage door is connected to an automatic garage door opener. If it is, disengage the opener. Afterward, raise the door to the open position or at least 6 feet off the ground. Take the C clamps and place them on both tracks directly below the door. Tighten the clamps.
Remove the old weather seal from the bottom of the door. You might need to use a screwdriver to remove the screws that hold the weather seal to the door. If you’re having difficulty removing the seal, you might need to pry the track ends open with a flat screwdriver. For extremely stubborn pieces, use a knife to cut and remove the seal in pieces. Clean out any remnants that remain in the track so you have a clean area to place the new seal.
Install the New Seal
Metal garage doors usually have an aluminum channel on the bottom of the door that holds a rubber gasket that’s often called an astragal seal. This rubber gasket slides into two small tracks on the channel for installation. If your garage door has a bulb-shaped garage door seal, which has a bottom circular shape with a large T at the top, follow these steps.
Take the new weather seal and cut it to the length previously measured. Add a few inches to that amount to give you some wiggle room. Make a bulb shape from the flat strip. You can do this by curling the ends together. The top of the bulb will resemble a “T” shape. Insert this T shape into the retainer slot. From there, slide the weather seal across the length of the door. If you’re having trouble inserting this piece into the slot, apply soapy water to the area.
The other common type is a U-shaped garage door seal, which has an insert wrapped into a U-shape and placed into one of the retainers. If you have one of these seals, follow these steps. Take the new weather seal and insert the T-shaped edges into their respective slots inside the retainer. Slide the weather seal across the length of the door. Replace the screws at this time if you removed them earlier.
Remove the Excess
With either type of garage door seal, you want to remove any of the excess material. Make sure you leave about 2 inches from the edge of the door. Tuck any of the extra seal into itself since the seal might shrink slightly in the future. If you removed any screws from the site, make sure you replace them in this step.
Don’t fret if you believe this project is too difficult for you to attempt. Simply reach out to the family-owned and operated Overhead Garage Door, and we will send someone out to help you. We only hire the most experienced technicians for our Chicagoland area locations, and all of these technicians have at least five years of experience working in the industry. All of our employees are given extensive background checks, drug tests, and physicals to ensure all our work is of the highest quality.